

You just typed a prompt into Lovable.
10 seconds later, you have a stunning, pixel-perfect MVP dashboard.
It looks incredible. You are ready to share it on Twitter and launch your new micro-SaaS.
Except for one massive problem:
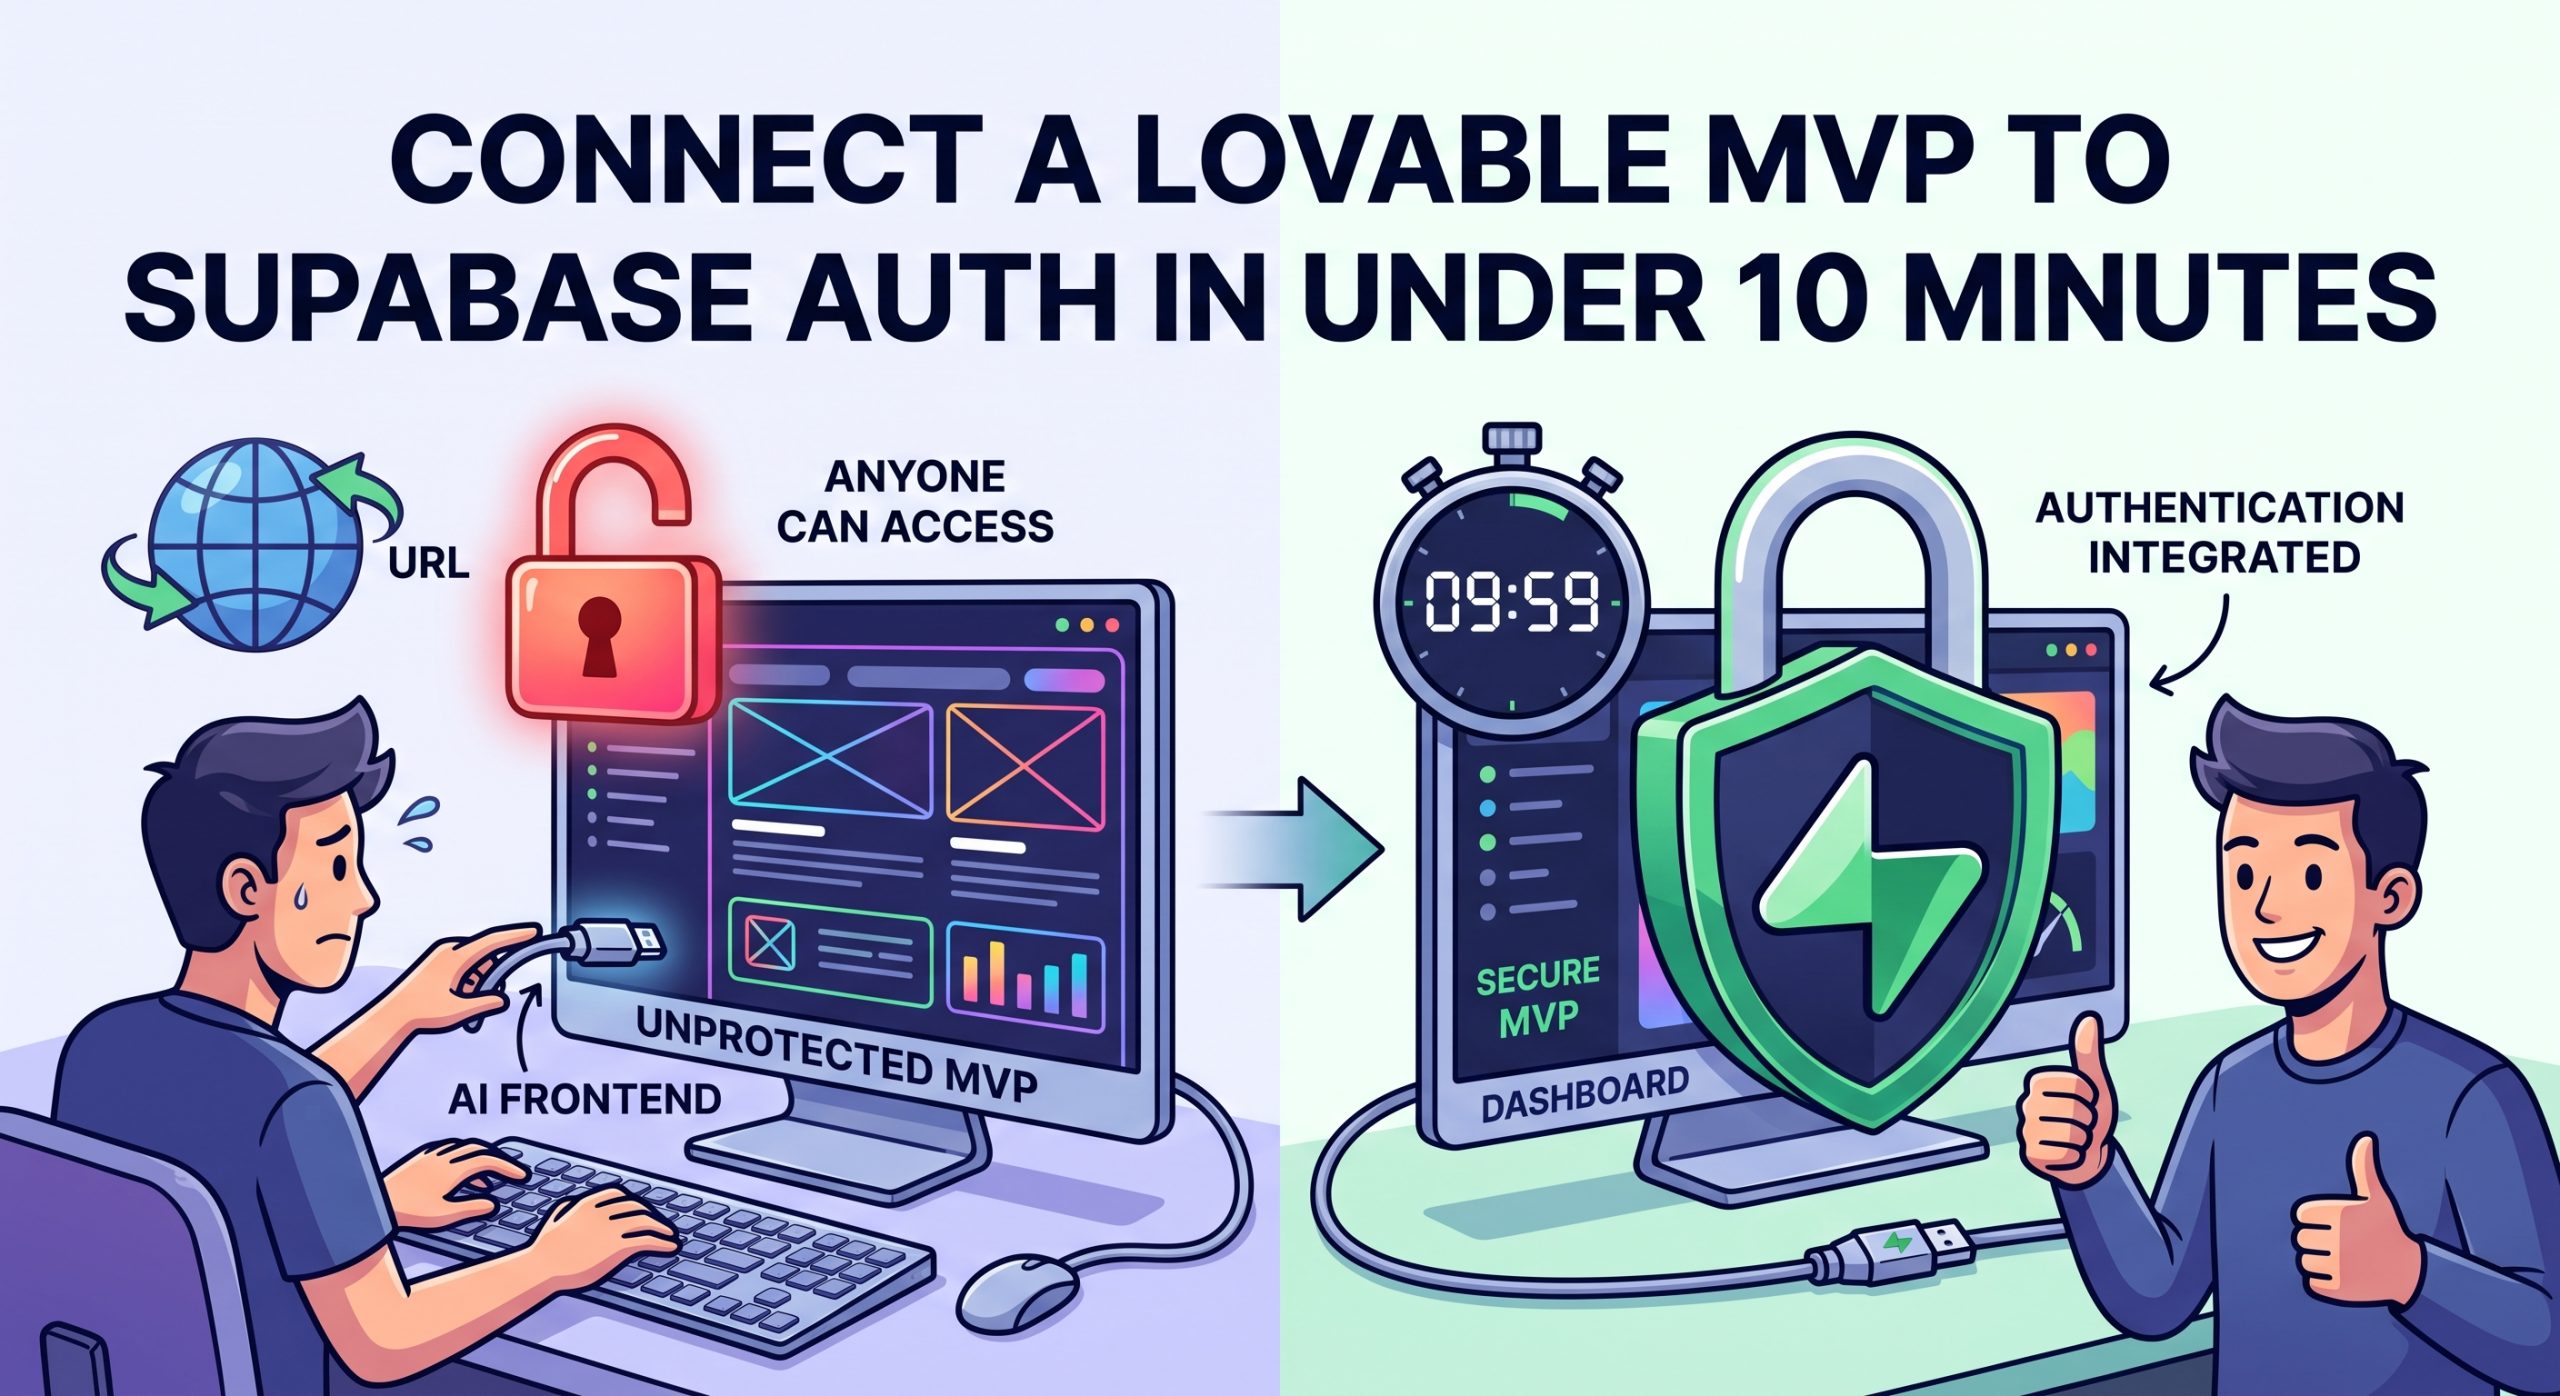
Anyone with the URL can access your application. Your frontend is completely unprotected.
There are no user accounts. No route guards. No security. Right now, your MVP is essentially a glorified wireframe.
In this guide, I am going to show you how to fix that—fast.
You are going to connect your Lovable MVP to Supabase Auth in under 10 minutes. No complex backend setup required. Just clean, production-ready authentication.
Let’s dive right in.
Why AI Frontends Need Drop-In Auth
When you use AI code generators like Lovable, v0, or Cursor, speed is your primary advantage. You can build features in minutes that used to take weeks.
So why would you spend three days writing custom authentication code, password hashing algorithms, and session management from scratch?
The short answer: You shouldn’t.
Attempting to build custom authentication inside AI-generated frontends leads to massive security vulnerabilities and wasted development time.
Instead, you need a Backend-as-a-Service (BaaS) that gives you drop-in authentication APIs straight out of the box.
This is a foundational piece of [connecting your AI frontend to a scalable backend]. When your authentication lives on a managed serverless platform like Supabase, your frontend stays lightweight while your application security remains enterprise-grade.
Let’s look at how to set this up step by step.
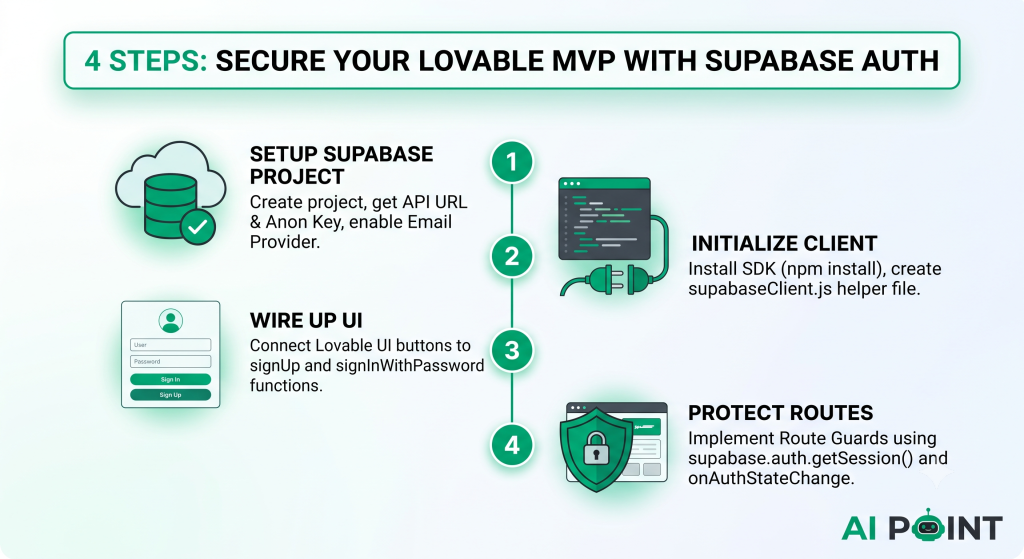
Step 1: Setting Up Your Supabase Project
First things first: We need a Supabase backend ready to receive requests.
If you don’t have an account yet, head over to Supabase and create a free project.
Once your project dashboard spins up (this usually takes about 60 seconds), complete these two quick steps:
1. Grab Your API Credentials
-
Navigate to Project Settings > API.
-
Copy your Project URL.
-
Copy your
anonpublic API key.
(Save these in a temporary text file. You will need them in Step 2.)
2. Enable Authentication Providers
-
Click on Authentication in the left sidebar menu.
-
Go to Providers.
-
Ensure Email is toggled ON.
(Optional: You can also enable Google or GitHub OAuth with a single click if you want social login).
That’s all you need on the backend side. Now, let’s connect it to your Lovable codebase.
Step 2: Integrating the Supabase Client in Your Lovable Code
Open your Lovable codebase in your preferred code editor.
First, install the official Supabase JavaScript SDK if it isn’t already included in your package file:
Bash
npm install @supabase/supabase-js
Next, create a new file named supabaseClient.js inside your src/ directory.
Drop in this exact code snippet:
JavaScript
import { createClient } from '@supabase/supabase-js'

// Replace these strings with your actual Supabase credentials from Step 1
const SUPABASE_URL = 'https://your-project-ref.supabase.co'
const SUPABASE_ANON_KEY = 'your-anon-key-here'

export const supabase = createClient(SUPABASE_URL, SUPABASE_ANON_KEY)
Pro Tip: Never hardcode raw production keys directly into client-side code if you plan to commit to public repositories. Use an
.envfile with environment variables (likeVITE_SUPABASE_URL) instead.
With this single helper file created, your entire AI frontend now has instant access to Supabase authentication APIs.
Step 3: Wiring Up the Login UI Components
Lovable generates beautiful UI elements—login forms, input fields, and submit buttons.
However, those buttons are just “dumb” visual elements right now. They don’t actually communicate with a database when clicked.
Let’s wire them up to real authentication functions.
Here is how you handle Sign Up and Sign In inside a React component:
JavaScript
import { useState } from 'react'
import { supabase } from './supabaseClient'

export default function AuthForm() {
  const [email, setEmail] = useState('')
  const [password, setPassword] = useState('')
  const [loading, setLoading] = useState(false)

  // Handle User Registration
  const handleSignUp = async (e) => {
    e.preventDefault()
    setLoading(true)
    const { error } = await supabase.auth.signUp({ email, password })
    if (error) alert(error.message)
    else alert('Check your email for the confirmation link!')
    setLoading(false)
  }

  // Handle User Login
  const handleLogin = async (e) => {
    e.preventDefault()
    setLoading(true)
    const { error } = await supabase.auth.signInWithPassword({ email, password })
    if (error) alert(error.message)
    else alert('Logged in successfully!')
    setLoading(false)
  }

  return (
    <form className="space-y-4">
      <input
        type="email"
        placeholder="Your email"
        value={email}
        onChange={(e) => setEmail(e.target.value)}
      />
      <input
        type="password"
        placeholder="Your password"
        value={password}
        onChange={(e) => setPassword(e.target.value)}
      />
      <button onClick={handleLogin} disabled={loading}>Log In</button>
      <button onClick={handleSignUp} disabled={loading}>Sign Up</button>
    </form>
  )
}
Notice how clean this is? You don’t need to write backend API routes or manage session cookies manually. Supabase manages session persistence behind the scenes automatically.
Step 4: Protecting Your Routes
You have a login form working. But what stops a user from typing /dashboard directly into their browser address bar?
You need a Route Guard.
Here is the simplest way to protect a page component in your Lovable MVP:
JavaScript
import { useEffect, useState } from 'react'
import { supabase } from './supabaseClient'

export default function ProtectedDashboard() {
  const [session, setSession] = useState(null)
  const [loading, setLoading] = useState(true)

  useEffect(() => {
    // Fetch current session state on load
    supabase.auth.getSession().then(({ data: { session } }) => {
      setSession(session)
      setLoading(false)
    })

    // Listen for real-time authentication changes
    const { data: { subscription } } = supabase.auth.onAuthStateChange((_event, session) => {
      setSession(session)
    })

    return () => subscription.unsubscribe()
  }, [])

  if (loading) return <div>Loading session...</div>
  if (!session) return <div>Access Denied. Please log in first.</div>

  return <div>Welcome to your protected MVP dashboard!</div>
}
If the user has an active session token, they see the dashboard. If they don’t, they are blocked immediately. Simple, fast, and secure.
Conclusion
And there you have it!
In less than 10 minutes, you converted a stateless, vulnerable Lovable UI into a secure, production-ready web application with real user accounts.
Here is a quick recap of what we covered:
-
Created a Supabase backend project and configured API credentials.
-
Initialized the Supabase JavaScript SDK inside your Lovable codebase.
-
Wired up
signInWithPasswordandsignUphandlers to your UI form buttons. -
Implemented a route guard using
supabase.auth.getSession().
Now that your authentication is locked down, you are ready to start storing user data and monetizing your application.
