

Let’s get one thing straight.
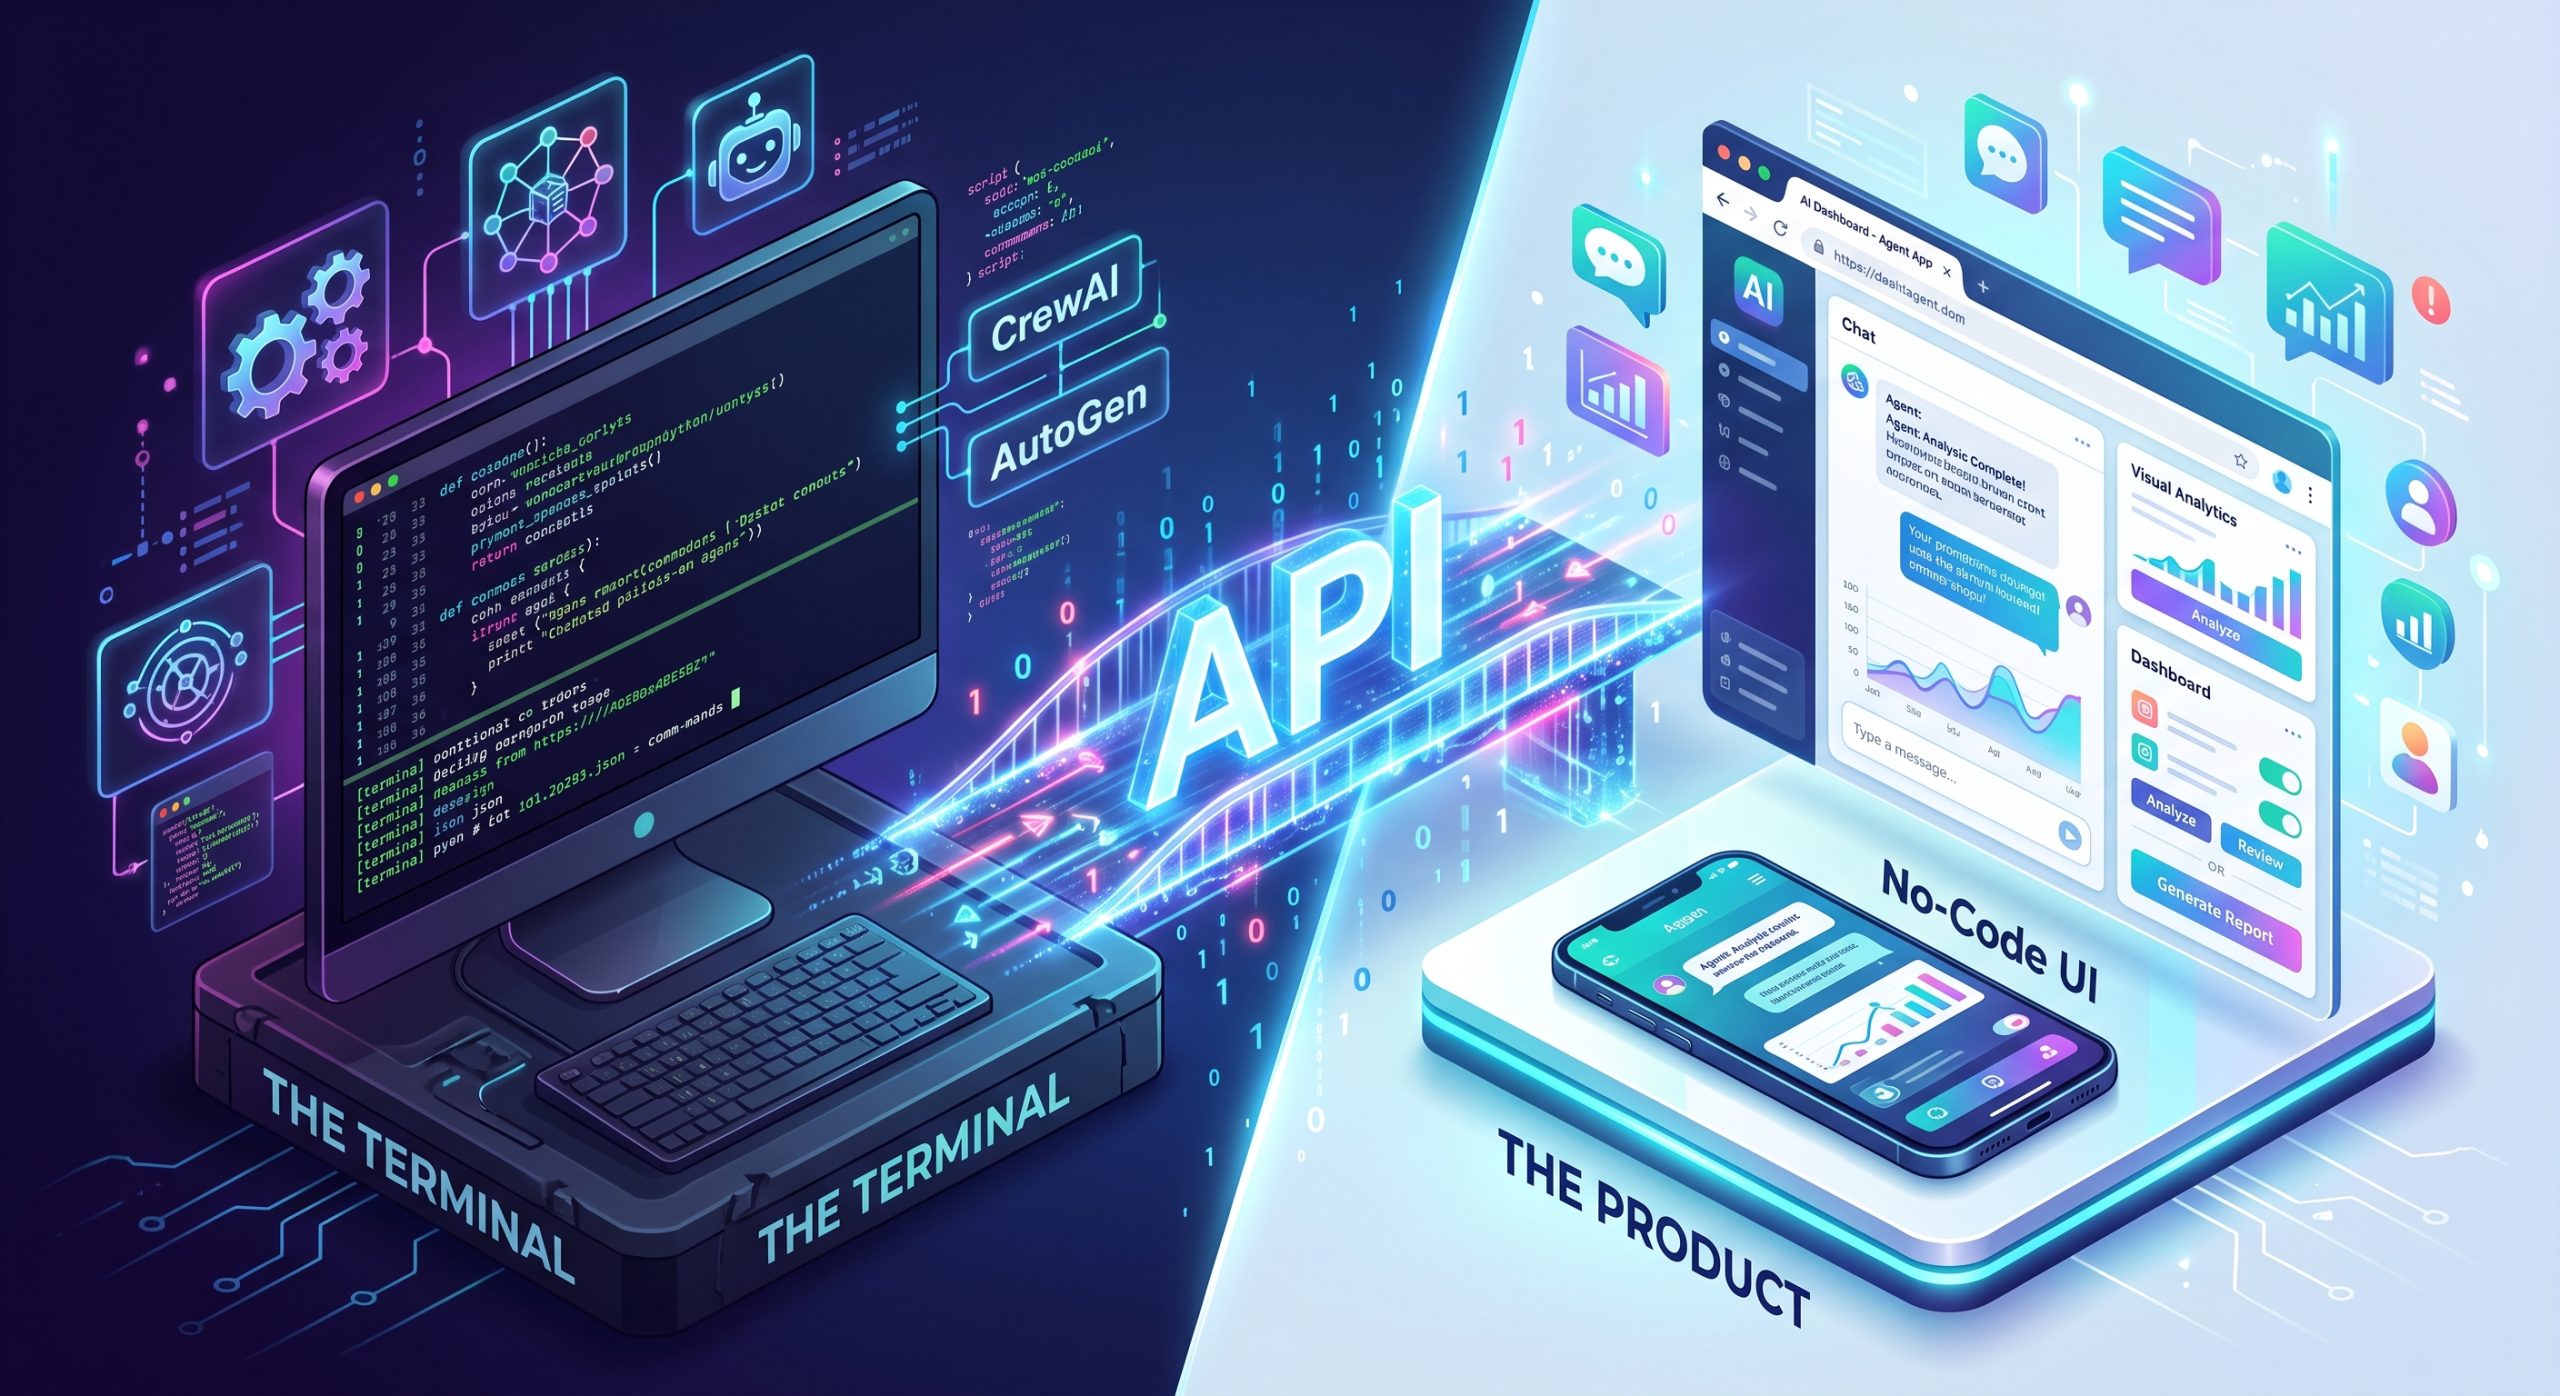
Having a powerful multi-agent AI system running in your local terminal is cool.
But it is definitely not a product.
If you want actual users or clients to interact with your AI, you need a slick user interface.
The problem? Building a custom React or Vue frontend from scratch takes weeks of engineering time.
The solution: No-code app builders.
In this guide, I am going to show you exactly how to connect complex backend agent frameworks (like CrewAI and AutoGen) to visual frontends like Bubble and FlutterFlow.
Let’s dive right in.
The Shift from Terminal to User Interface
Here is the hard truth about AI development today.
Tools like AutoGen and CrewAI are incredibly powerful. They allow multiple specialized agents to talk, debate, and execute tasks entirely on autopilot.
But out of the box, they live exclusively in terminal environments or Jupyter Notebooks.
This is fine for developers. But it is a nightmare for end-users.
Your customers don’t want to run Python scripts to use your tool. They want clickable buttons, clean input forms, and intuitive chat windows.
You need a reliable bridge to deploy these agents into consumer-facing web or mobile applications.
That is where visual development platforms step in. By connecting platforms like Bubble or FlutterFlow to your AI backend, you can launch beautiful, functional applications in days instead of months.
And if you are already looking at the big picture of building multi-agent AI workflows, mastering this exact transition from backend script to frontend product is absolutely mandatory.
Exposing Your Agents via APIs (FastAPI & Flask)
You can’t just plug Bubble directly into a Python script.
To bridge the gap between a visual no-code platform and your AI orchestration framework, you need an API wrapper.
Wrapping the Logic
The industry standard for this right now is FastAPI.
FastAPI is a modern, blazing-fast web framework for building APIs with Python. It takes your CrewAI or AutoGen logic and turns it into a secure RESTful endpoint.
Instead of typing a run command in your terminal, your frontend will send a secure HTTP POST request with a JSON payload directly to your FastAPI endpoint.
When your endpoint receives that data (like a user’s search query or prompt), it triggers your AI agents to start working.
Handling Long-Running Tasks
But there is a massive catch.
Multi-agent workflows are notoriously slow. If you ask an agent to scrape three websites, summarize the raw data, and write a detailed report, it might take a full 60 seconds to process.
Standard HTTP requests generally time out after 30 seconds.
If you use a standard synchronous request, your Bubble app will simply crash and throw an error while waiting for the AI to finish thinking.
The fix? Asynchronous task queues.
Instead of forcing your frontend to wait for the final answer, you set up background tasks using tools like Redis and Celery, or FastAPI’s native BackgroundTasks.
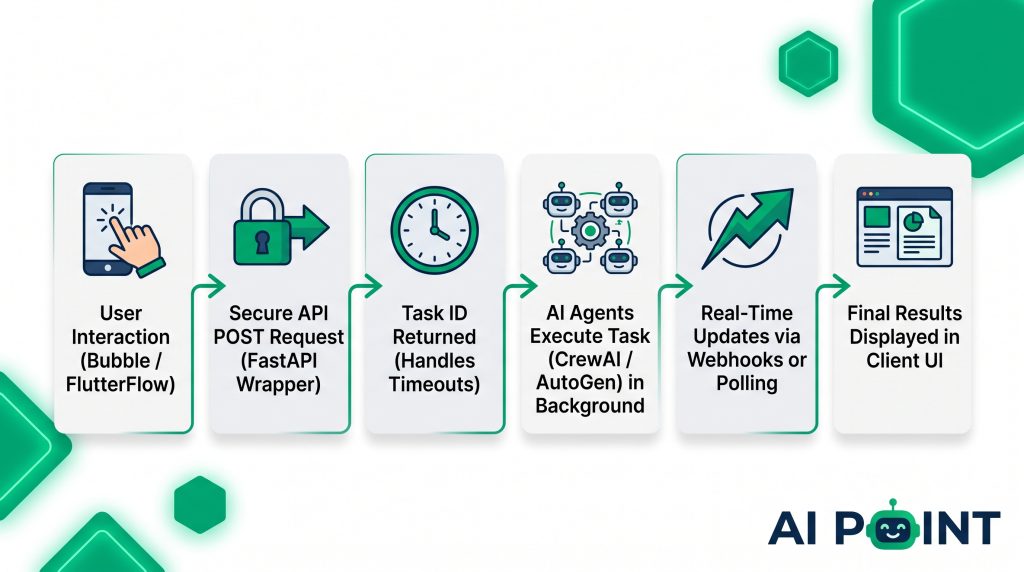
Here is exactly how the flow works:
-
Your frontend sends the request to the server.
-
FastAPI immediately replies with a unique
Task ID(essentially saying, “Task started successfully!”). -
The AI agents do their heavy lifting in the background without holding up the connection.
-
Your frontend uses that
Task IDto poll a separate GET endpoint to check the status of the job.
This architecture keeps your application lightning-fast and completely eliminates timeout errors.
Integrating with No-Code Platforms
Now that your API is stable and ready, it is time to hook it up to your frontend.
Let’s break down how to execute this with the most popular no-code builders on the market.
Connecting Bubble to CrewAI
Bubble is an absolute powerhouse for building complex web applications.
To connect it to your Python agents, you will use Bubble’s native API Connector plugin.
Here is the exact step-by-step workflow:
-
Install the API Connector in your Bubble dashboard.
-
Create a new API call and set the method to POST.
-
Paste in your FastAPI endpoint URL.
-
Format your JSON body parameters dynamically so Bubble inputs (like a text box value) pass directly into the API payload.
When a user clicks “Generate” on your Bubble site, it fires that payload straight to your FastAPI server, which hands it off to CrewAI.
AutoGen and FlutterFlow
If you are building mobile applications, FlutterFlow is currently your best bet.
Because AutoGen thrives on complex, multi-turn conversational patterns, you can easily build a slick chat interface within FlutterFlow to mirror that experience.
You map your FlutterFlow chat widget directly to your FastAPI endpoints. Each time a user sends a message, it pings the API. The API triggers the AutoGen group chat, the agents deliberate, and the final consensus is passed back down to the mobile UI.
Native No-Code Solutions
It is also worth noting that the development landscape is evolving rapidly.
Platforms like CrewAI are aggressively expanding their ecosystems. They are rolling out native enterprise features, including visual workflow editors and hosted platform templates. In the near future, deploying these basic workflows might not even require a third-party tool—but mastering the API connection ensures you always have total control over your architecture.
Webhooks and Real-Time Frontend Updates
Polling for updates with a Task ID works perfectly fine, but it isn’t always the most efficient method for scaling.
If you want real-time, instantaneous updates pushed to your users, you need to implement Webhooks.
Closing the Loop
A webhook is essentially a reverse API call.
Instead of Bubble constantly asking your server, “Are you done yet?”, your server explicitly tells Bubble, “I am done, here is the final data.”
FastAPI makes handling this incredibly simple. Better yet, CrewAI actually has built-in webhook support.
When kicking off a crew, you can configure parameters like taskWebhookUrl and stepWebhookUrl.
This means every single time an agent finishes a specific step or inner thought, CrewAI automatically sends a POST request with the output data to a URL you specify. You can point this URL directly at a Bubble Workflow API endpoint.
The moment Bubble receives that data, it automatically updates the user’s database and displays the final result on the screen.
Designing the User Experience
But what happens on the screen while the user is waiting for the agents to finish?
You must design for latency. If the screen remains entirely static for 45 seconds, the user will assume your app is broken and bounce.
You need to keep them engaged during the execution phase:
-
Use dynamic loading states: Display text like “Agents Analyzing Data…” or “Writing Report…”.
-
Stream intermediate steps: Because CrewAI supports step webhooks, you can show live updates as each agent finishes their specific task.
-
Implement skeleton loaders: Show grayed-out boxes where the final text will eventually appear to indicate progress.
By mastering webhook integrations and proper UI loading states, you take a slow, clunky AI script and transform it into a premium, highly responsive software product.
