

The AI development world is completely divided right now.
On one side, you have the “Cloud-Only” crowd. They live in browser-based AI builders like Lovable and Bolt.new. They ship beautiful UIs in seconds, but their backends are a nightmare.
On the other side, you have the “Local-Only” purists. They sit in Cursor or Windsurf. Their code is meticulously structured, but it takes them three days just to build a simple settings page.
So, which side is right?
Neither.
The false dichotomy of choosing either a cloud builder or a local IDE is the biggest bottleneck holding developers back in 2026.
If you want to move at absolute lightspeed without shipping spaghetti code, you need to combine them.
You need to use a highly optimized, dual-engine workflow that maximizes speed without sacrificing a single drop of quality.
I call it The Hybrid Stack.
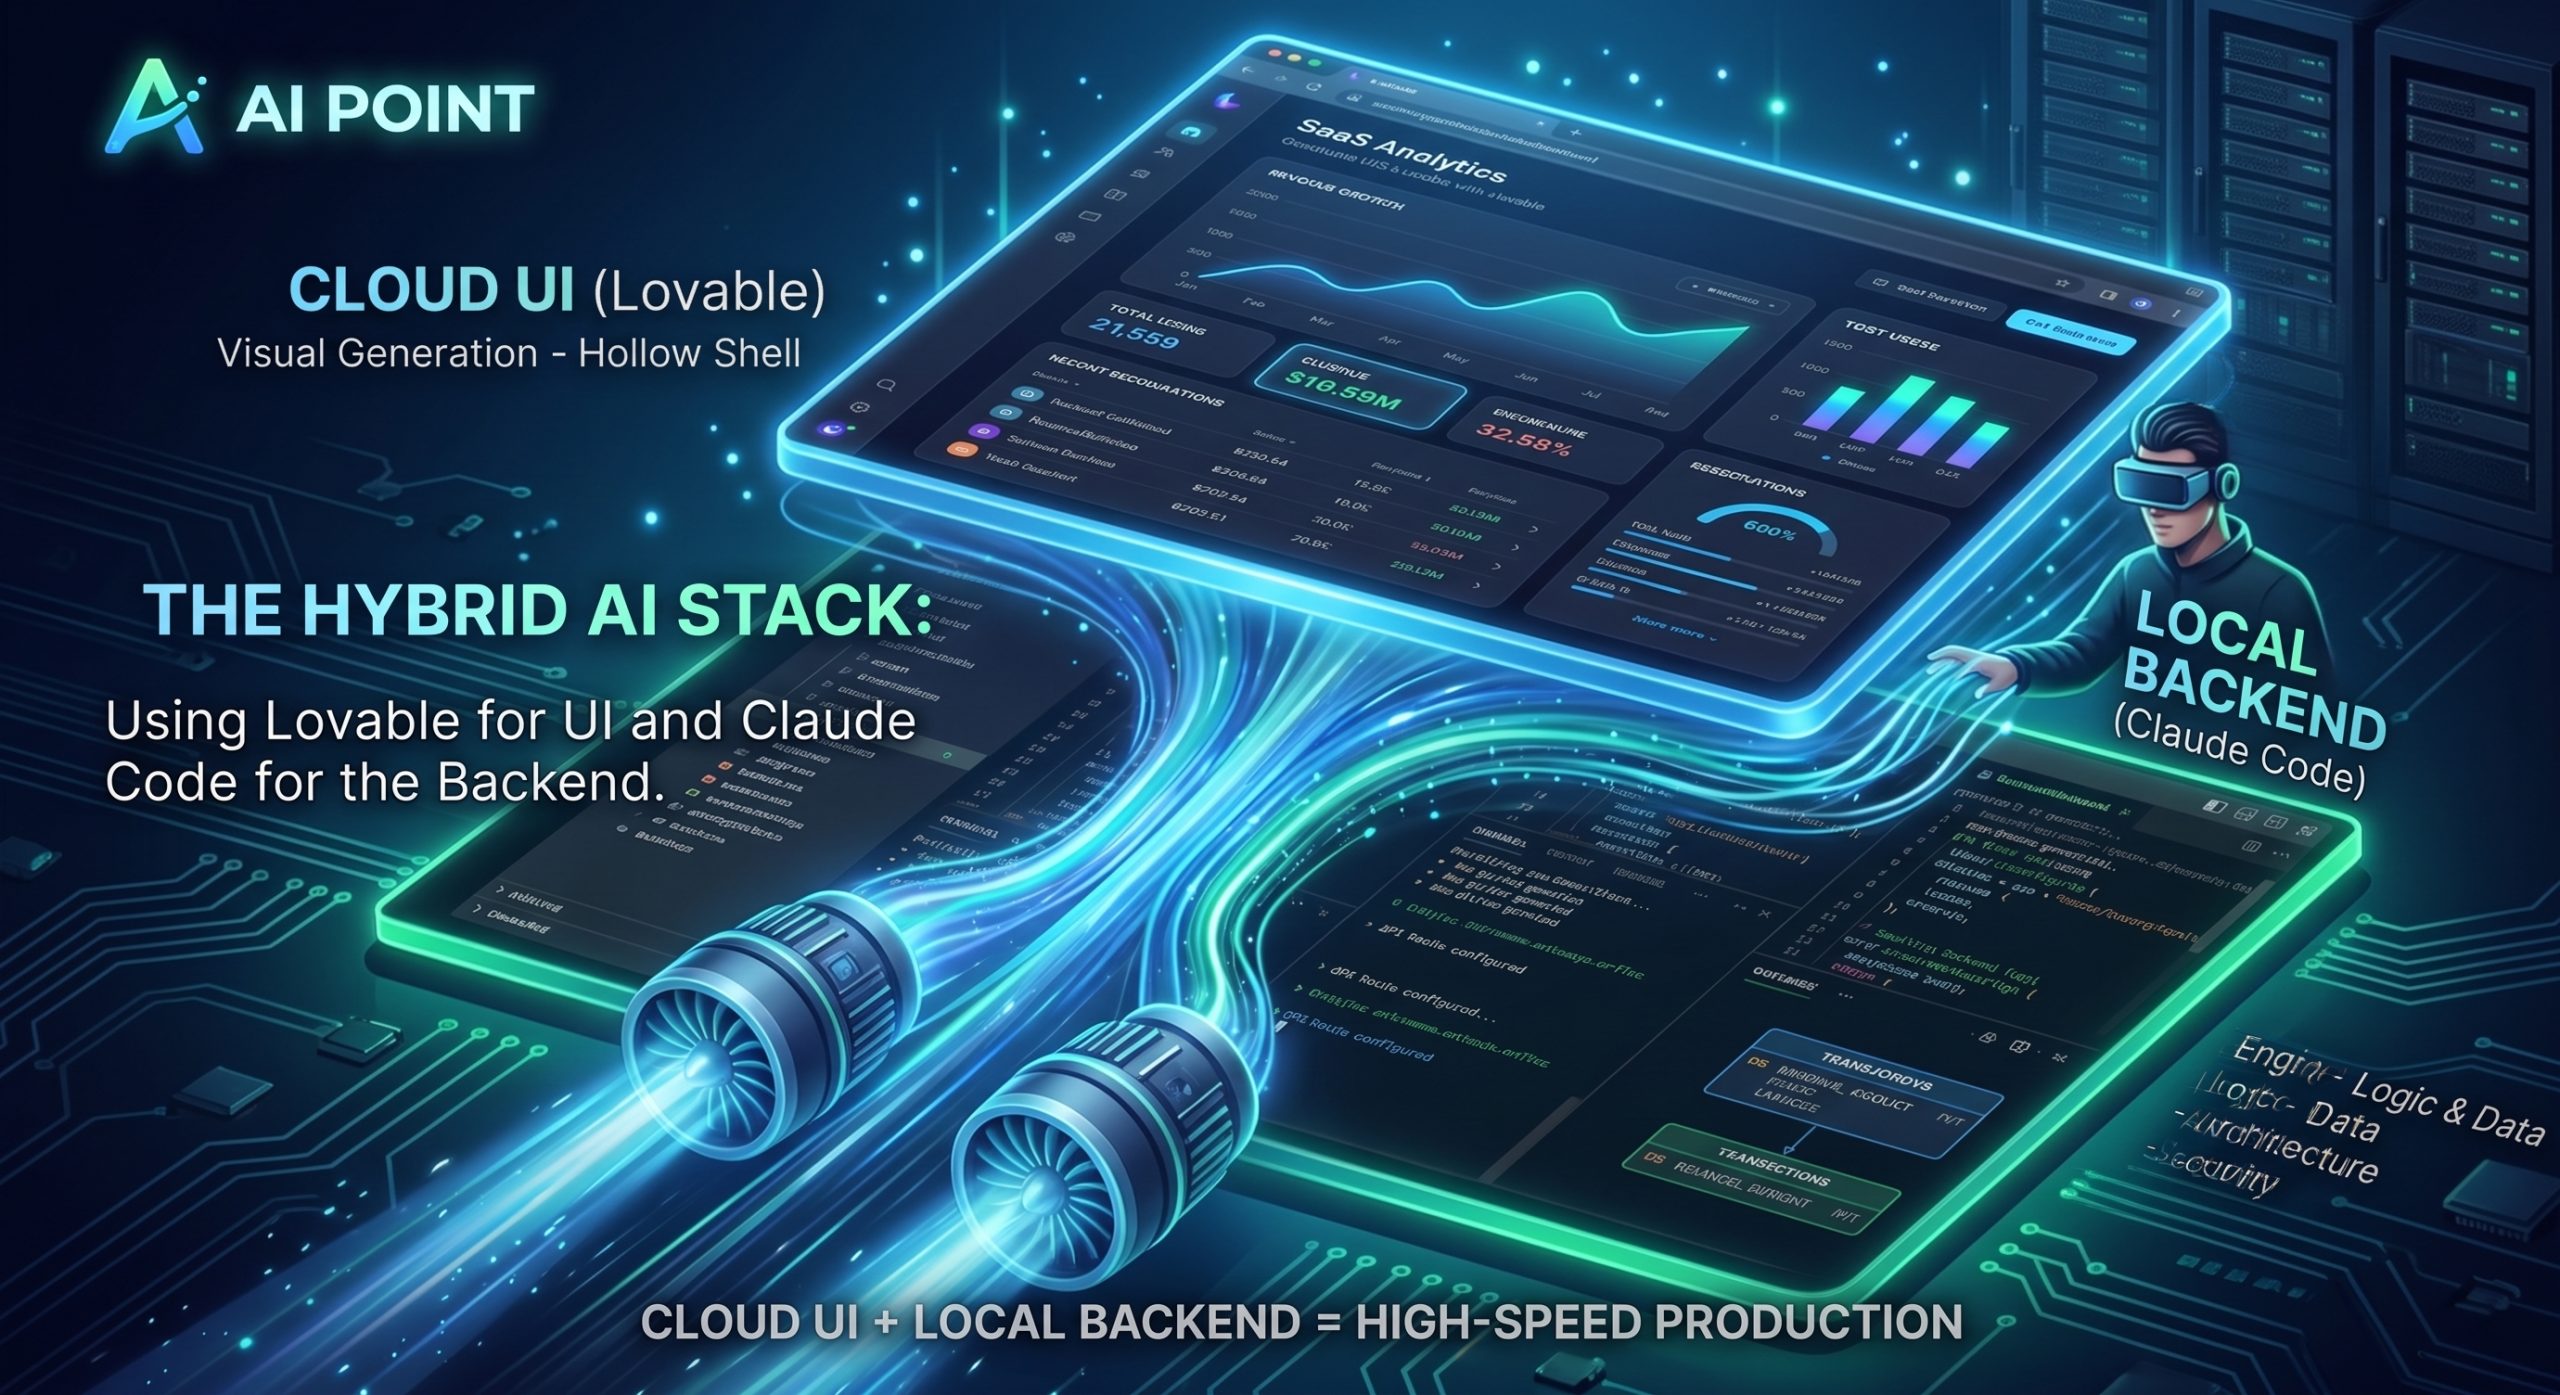
And today, I am going to show you exactly how to use Lovable for your frontend UI and Claude Code for your backend architecture.
Let’s dive right in.
What is the Hybrid AI Stack?
Before we get into the step-by-step framework, we need to define what we are actually building.
What exactly is the Hybrid AI Stack?
Simply put, it is a workflow that acknowledges the undeniable truth about today’s AI tools:
Cloud-based builders are the best in the world at designing visual interfaces. Local CLI-based AI agents are the best in the world at writing backend architecture.
So, why not use both for what they do best?
Instead of forcing a local IDE to write tedious Tailwind CSS classes, you let the cloud handle the design. And instead of trusting a browser-based builder to design your Postgres database schema, you let a local AI handle the logic.
This workflow is the ultimate modern developer’s blueprint for building production-ready applications at record speed.
Here is why it works so incredibly well:
It completely removes the “Whac-A-Mole” bug loop. Because you are separating the visual generation from the data generation, the AI doesn’t get confused.
You act as the bridge between two highly specialized AI agents. You take the beautiful shell from the cloud, pull it down to your local machine, and let your local AI wire up the engine.
The result?
You operate with the blistering speed of a Silicon Valley frontend designer, combined with the rigorous architectural control of a senior backend engineer.
Here is the exact three-phase system you can use to implement this today.
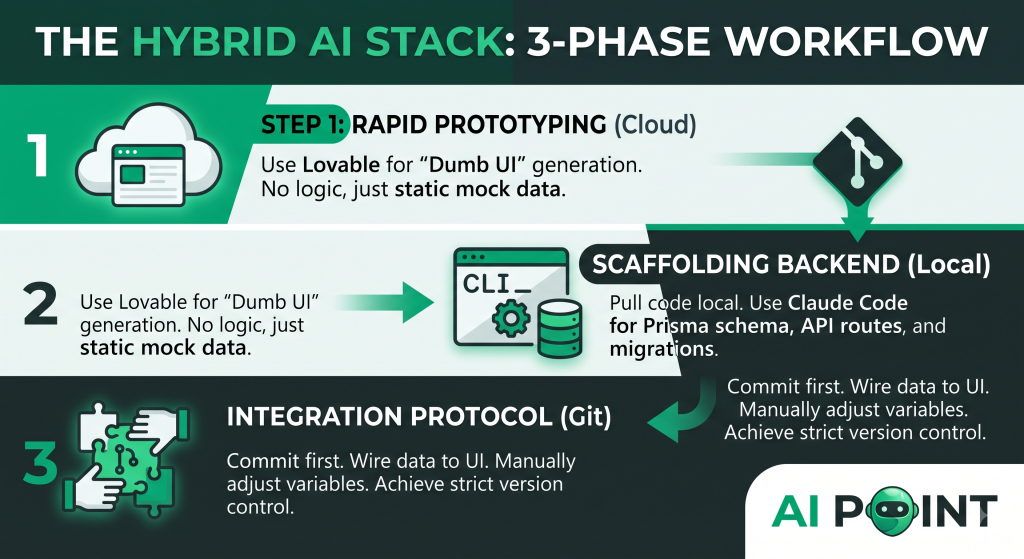
Phase 1: Rapid Prototyping with Lovable
Phase 1 happens entirely in the cloud.
For this example, let’s say you need to build a new Analytics Dashboard for your SaaS product.
If you tried to build this in Cursor from scratch, you would spend hours tweaking CSS Grid layouts, padding, and dark-mode color variables.
Instead, you open Lovable.
But here is the secret to making this work: you are going to use Lovable strictly as a “dumb UI” generator.
You do not want Lovable to write API calls. You do not want it to handle complex authentication state. You just want it to paint a pretty picture.
You type this exact prompt into Lovable:
“Build a responsive, dark-mode SaaS analytics dashboard. It needs a main line chart in the center, three metric cards at the top (Revenue, Users, Churn), and a recent transactions table at the bottom. Use Tailwind CSS and standard React components. Do not include any actual data fetching logic, just use static mock data to make it look good.”
Boom.
In about 15 seconds, Lovable generates a pixel-perfect React UI. It looks stunning.
But remember, it is a hollow shell. If you click a button, nothing happens. If you refresh, the data never changes.
And that is exactly what we want.
Now, you export that specific, isolated React component. You copy the raw code for AnalyticsDashboard.tsx.
You are officially done with the cloud. It is time to bring this beautiful shell into the real world.
Phase 2: Scaffolding the Backend with Claude Code
Now, we move to the local environment.
You open your existing Next.js project on your local machine. You create a new file in your /components folder, and you paste the raw Lovable code directly into it.
It renders perfectly on your local localhost:3000.
But now, we need to make it real.
This is where you fire up a CLI-based agent like Claude Code.
Unlike browser builders, Claude Code has complete access to your local terminal, your package manager, and your entire Git history. It isn’t going to guess; it is going to engineer.
You open your terminal and give Claude Code a massive, highly specific architectural prompt:
“I just added a new static UI component called AnalyticsDashboard.tsx. I need you to build the backend infrastructure to support it. First, update our Prisma schema to include a new ‘Transactions’ table. Run the database migration. Next, create a secure Next.js API route that aggregates those transactions by date. Finally, wire that API route into the AnalyticsDashboard component so the line chart displays real data from the database.”
This is where the magic happens.
Claude Code will literally take over your terminal.
It will write the Prisma schema. It will run npx prisma db push. It will scaffold the Next.js API route.
It acts as your dedicated backend developer, executing the heavy lifting while you oversee the architecture.
Phase 3: The Integration Protocol
The final step is wiring these two worlds together safely.
When Claude Code connects your local database to your Lovable-generated UI, things can occasionally get slightly misaligned.
Maybe the API returns an object called revenue_amount, but the Lovable UI was expecting totalRevenue.
Because you are working in a local IDE, fixing this is incredibly simple.
You don’t have to reprompt a cloud builder and pray it doesn’t break your layout. You just open the file, look at the type definitions, and manually adjust the variable name in one single place.
But here is the most critical rule of Phase 3: Strict Version Control.
Before you let Claude Code touch the Lovable UI component, you must commit your code.
git add . git commit -m "Added static Lovable UI for Dashboard"
Why?
Because if Claude Code accidentally deletes a CSS class while trying to inject the database logic, you do not want to lose that pixel-perfect design. By committing first, you are always exactly one git reset --hard away from safety.
Once the data streams are wired, the loading states are handled, and the charts are updating dynamically, you commit again.
You have just successfully merged cloud-based UI generation with local backend engineering.
Conclusion
The Hybrid Stack isn’t just a neat trick.
It is the definitive workflow for the modern AI developer.
If you rely only on cloud builders, you will get stuck in the prototype phase forever. Your app won’t scale.
If you rely only on local IDEs, you will waste countless hours writing CSS boilerplate that a cloud model could have generated in ten seconds.
By separating the visual layer from the data layer, you unlock a completely new level of productivity.
So, here is your next step:
Open Lovable. Generate a single, beautiful “dumb” component. Paste it into your local Next.js project. And use Claude Code to wire it to a real database today.
