

Theory is great. But nothing beats writing actual code.
If you have read our complete Developer’s Guide to Building Custom AI Knowledge Bases with RAG, you understand the underlying architecture of modern AI retrieval systems. Now, it is time to put that architecture into practice.
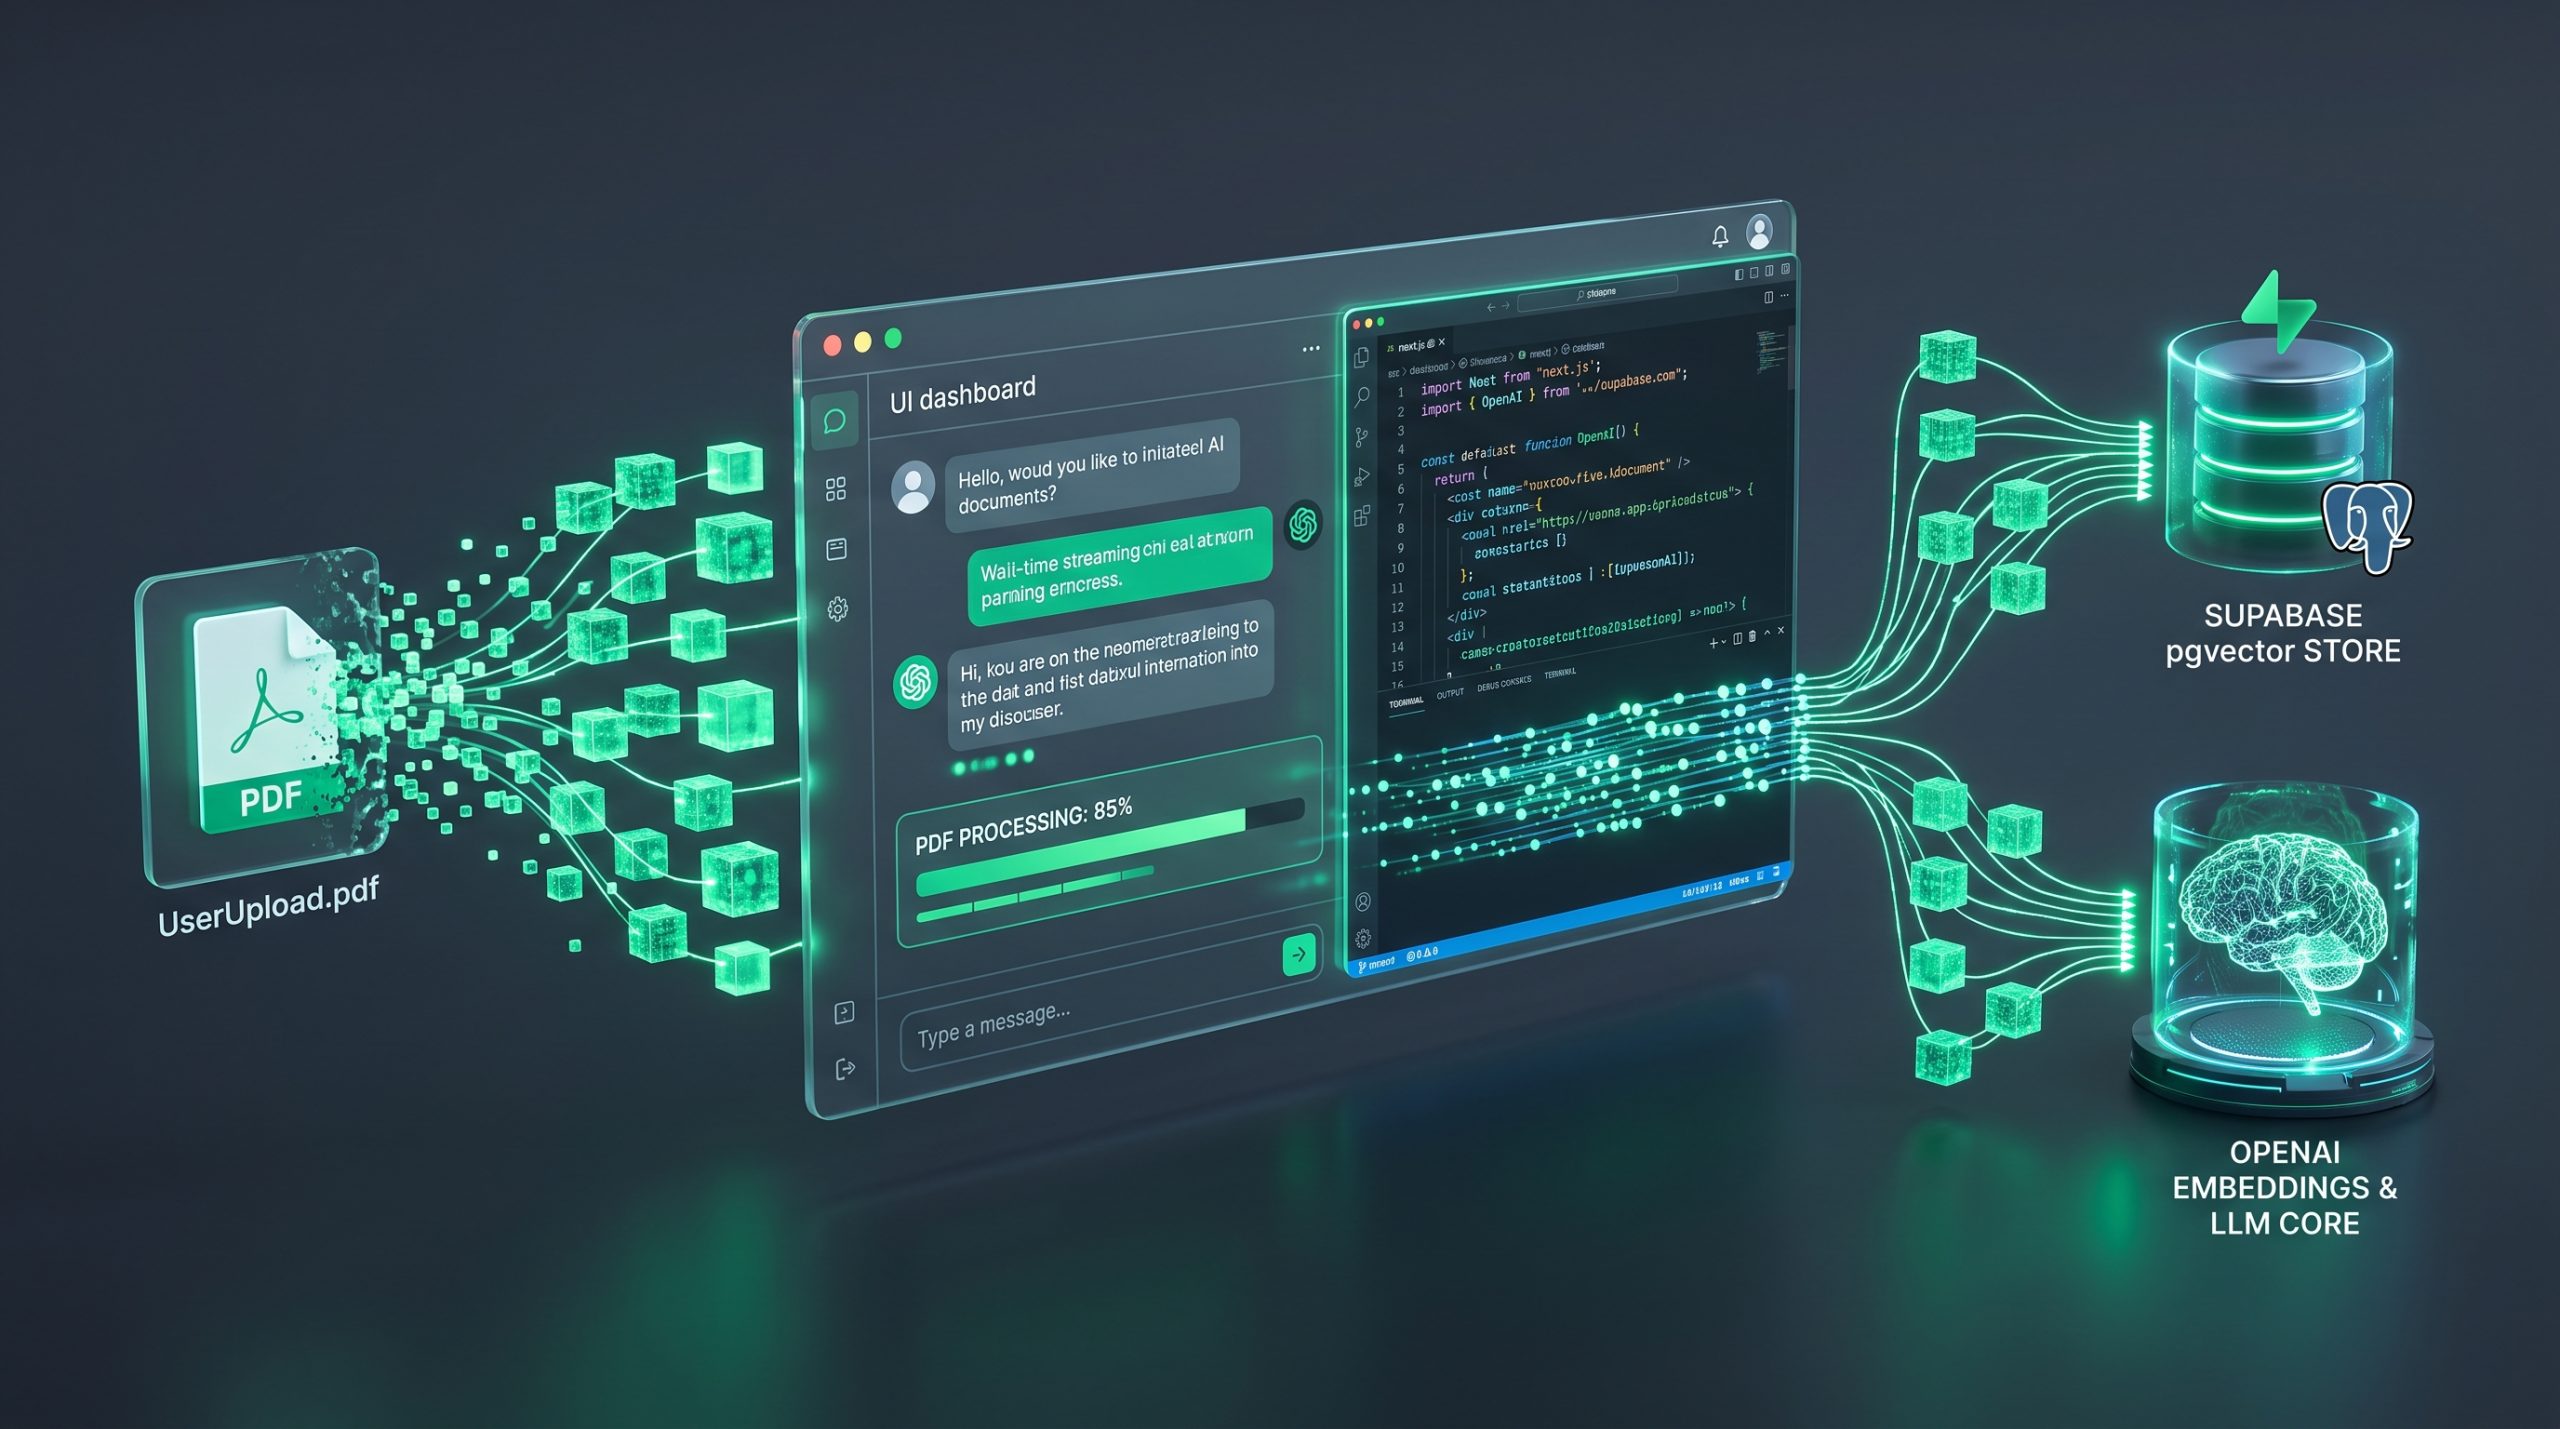
In this tutorial, we are going to build a full-stack web application from scratch. By the end of this guide, you will have a working app that lets users upload PDFs, stores their text as vector embeddings, and allows them to chat with their documents in real-time.
Let’s write some code.
The Modern AI Tech Stack
Before we touch any code, let’s look at our tools.
To build a production-grade RAG app today, you want a stack that is lightning-fast, highly scalable, and developer-friendly.
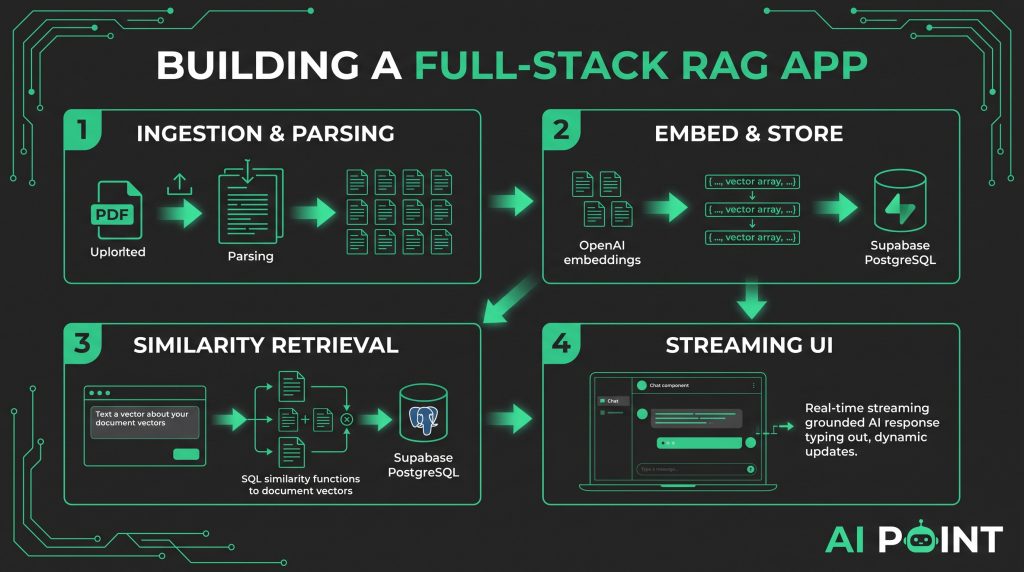
Here is the exact stack we are using:
-
Framework: Next.js (App Router) for handling backend API routes and frontend rendering.
-
Database & Vectors: Supabase (PostgreSQL) powered by the
pgvectorextension. -
Embeddings & LLM: OpenAI (
text-embedding-3-smallandgpt-4o-mini). -
AI Streaming: Vercel AI SDK for seamless real-time chat responses on the UI.
This combination gives you an end-to-end serverless architecture that you can deploy to production in minutes.
Step 1: Handling File Uploads and Parsing
Every document-chat app starts with ingestion.
When a user uploads a PDF through your frontend interface, your Next.js backend needs to intercept that file and parse it directly into raw text.
Let’s create an API route in Next.js (app/api/upload/route.ts):
TypeScript
import { NextResponse } from 'next/server';
import pdfParse from 'pdf-parse';

export async function POST(req: Request) {
  const formData = await req.formData();
  const file = formData.get('file') as File;

  if (!file) {
    return NextResponse.json({ error: 'No file uploaded' }, { status: 400 });
  }

  const buffer = Buffer.from(await file.arrayBuffer());
  const parsedData = await pdfParse(buffer);
  const rawText = parsedData.text;

  // Next step: Chunk and embed this rawText
  return NextResponse.json({ success: true, textLength: rawText.length });
}
This endpoint extracts all the text content from the uploaded PDF.
Once you have the raw text string, your script must pass it through your chunking pipeline (splitting it into manageable token chunks) so it is ready for vector conversion.
Step 2: Embedding and Storing Data in Supabase
Now that your document is neatly chunked, you need to turn those text chunks into mathematical vectors and save them to your database.
Here is how you loop through your chunks, generate embeddings using OpenAI, and store them in Supabase:
TypeScript
import { createClient } from '@supabase/supabase-js';
import OpenAI from 'openai';

const openai = new OpenAI({ apiKey: process.env.OPENAI_API_KEY });
const supabase = createClient(process.env.SUPABASE_URL!, process.env.SUPABASE_SERVICE_KEY!);

export async function embedAndStoreChunks(chunks: string[], documentId: string) {
  for (const chunk of chunks) {
    // 1. Generate embedding vector
    const embeddingResponse = await openai.embeddings.create({
      model: 'text-embedding-3-small',
      input: chunk,
    });
    const vector = embeddingResponse.data[0].embedding;

    // 2. Insert into Supabase pgvector table
    await supabase.from('documents').insert({
      content: chunk,
      embedding: vector,
      metadata: { document_id: documentId }
    });
  }
}
With this script running, every single text chunk is safely embedded and mapped inside your PostgreSQL database, ready to be searched via similarity queries.
Step 3: The Retrieval and Generation Route
This is where the magic happens. When a user types a question into your chat interface, your app needs to execute three sequential actions:
-
Embed the user’s incoming query text.
-
Query your Supabase database using your
match_documentsSQL function to find the top 5 most similar chunks. -
Inject those chunks as context into the LLM prompt and stream the answer back to the user.
Here is the core API logic for your chat route:
TypeScript
import { OpenAIStream, StreamingTextResponse } from 'ai';

export async function POST(req: Request) {
  const { messages } = await req.json();
  const latestQuery = messages[messages.length - 1].content;

  // 1. Embed query
  const embeddingResponse = await openai.embeddings.create({
    model: 'text-embedding-3-small',
    input: latestQuery,
  });
  const queryEmbedding = embeddingResponse.data[0].embedding;

  // 2. Search Supabase pgvector
  const { data: matches } = await supabase.rpc('match_documents', {
    query_embedding: queryEmbedding,
    match_threshold: 0.75,
    match_count: 5,
  });

  const contextText = matches?.map((match: any) => match.content).join('\n\n') || '';

  // 3. Send to LLM with strict context window
  const response = await openai.chat.completions.create({
    model: 'gpt-4o-mini',
    stream: true,
    messages: [
      { role: 'system', content: `Answer using ONLY this context:\n${contextText}` },
      ...messages
    ],
  });

  const stream = OpenAIStream(response);
  return new StreamingTextResponse(stream);
}
This code handles the entire backend loop of your RAG application.
Step 4: Building the Frontend UI with the Vercel AI SDK
Building the frontend UI used to require writing complex state management logic for streaming responses.
Not anymore.
With the Vercel AI SDK, you can wire up a fully functioning chat interface in a single React component using the useChat hook:
TypeScript
'use client';
import { useChat } from 'ai/react';

export default function Chat() {
  const { messages, input, handleInputChange, handleSubmit } = useChat();

  return (
    <div className="max-w-xl mx-auto p-4">
      <div className="space-y-4 mb-4">
        {messages.map((m) => (
          <div key={m.id} className={m.role === 'user' ? 'text-blue-600' : 'text-gray-900'}>
            <strong>{m.role}:</strong> {m.content}
          </div>
        ))}
      </div>
      <form onSubmit={handleSubmit} className="flex gap-2">
        <input value={input} onChange={handleInputChange} placeholder="Ask anything about your document..." className="border p-2 flex-1 rounded" />
        <button type="submit" className="bg-black text-white px-4 py-2 rounded">Send</button>
      </form>
    </div>
  );
}
Connect this component to your chat API route, and your UI will instantly stream responses word-by-word.
Conclusion
You just built a production-ready document-chat app from scratch.
By combining Next.js, Supabase pgvector, and OpenAI, you bypassed the complexity of separate vector databases and deployed a clean, scalable AI knowledge base.
Take this code, customize your styles, add user authentication, and start shipping.
Keep building.
